The Step-by-Step Creator Workflow for Auto-Cutting Video Clips
Updated
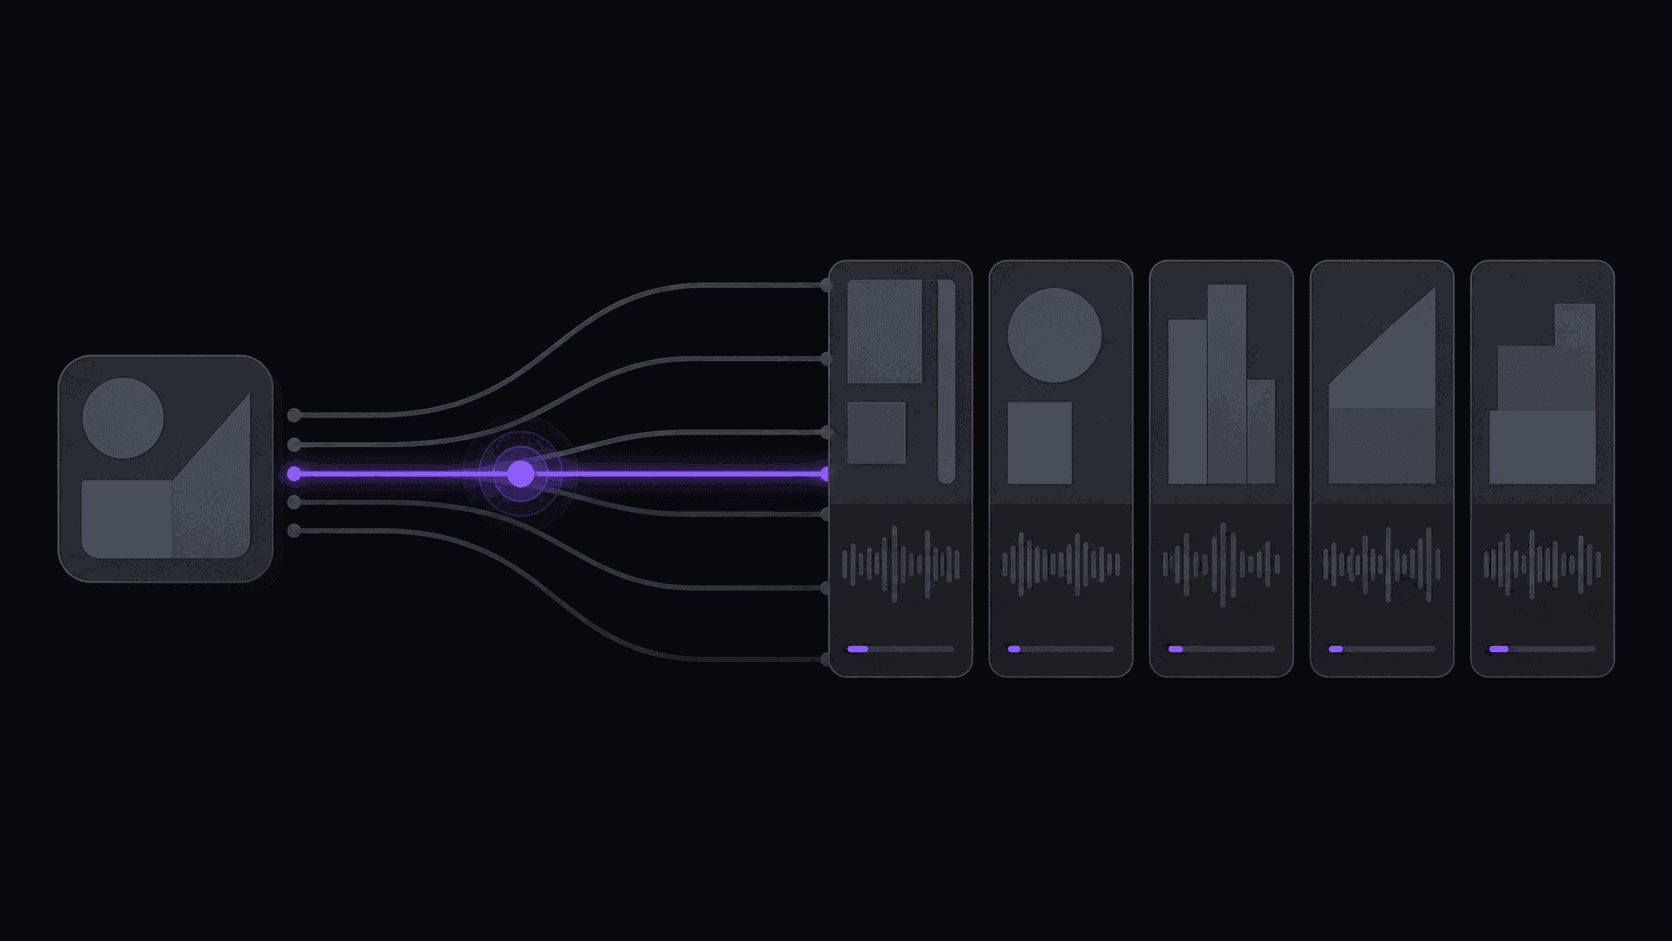
Short answer: how do you auto-cut clips from a video?
Submit the video to an AI clipping tool, let it transcribe and score the footage, then review the clips it cuts and publish the ones you approve. On AutoClip that takes about 5 minutes for a typical video and returns around 9 clips.
The only decision you make up front is the source: length must fit your plan's cap, and the audio has to be clear enough to transcribe. Everything after that is review.
Key takeaways
Step 1: Submit the source video
Start by giving the tool the source — either a monitored channel's new upload or a direct submission — and confirm the length fits your plan's cap of 2, 5, or 10 hours.
- Step 1. Submit the video, or let channel monitoring pick it up automatically.
- Step 2. Wait for transcription and scoring; a typical video finishes in about 5 minutes.
- Step 3. Review the candidate clips, checking the opening seconds and the caption legibility rather than watching each in full.
- Step 4. Set the export quality if you want 1080p rather than the 720p default; this re-renders the clip.
- Step 5. Approve the keepers and schedule them to your connected accounts.
What You Are Actually Setting Up
"auto-cutting clips from video" describes a pipeline, not a single action. The pipeline has six steps, and understanding all six is what separates a setup that saves you two hours a week from one that saves you twenty minutes and creates new friction elsewhere.
The six steps: source monitoring (detecting that a new video exists), ingestion (getting the video into the processing system), moment selection (AI identifying which segments to cut), clip assembly (applying reframe, captions, and format settings), queue management (organizing clips for review and scheduling), and publication (distributing approved clips to platforms).
Most tutorials cover steps three and four and call it done. Steps one, five, and six are where the real time savings live. Setting up automatic source monitoring means you never have to notice a new upload and remember to process it. Connecting queue management to a posting schedule means approved clips reach platforms without additional manual steps. Without steps one, five, and six, you have a faster editor, not an automatic workflow.
Step One: Source Monitoring
The trigger for the auto-cut workflow is new content appearing on a source channel. For this to be automatic, something has to watch the channel on your behalf.
With AutoClip, you connect a YouTube channel (or multiple channels) and the system monitors for new uploads. When a new video appears, it enters the processing queue without any action from you. The channel connection is a one-time setup — you add the channel, configure which types of content to process (all uploads, uploads over a certain length, or uploads from a specific playlist), and the monitoring runs continuously.
Alternative approaches: some creators use RSS feeds or IFTTT-style automation to trigger processing when a channel publishes. These work but add failure points — if the RSS trigger misses a video, the video doesn't get processed. Purpose-built channel monitoring inside a clipping tool is more reliable because it is designed specifically for this problem.
Step Two: AI Moment Selection (What It Is Actually Doing)
Once the video is ingested, the AI moment selection runs on the full length. This is the step most people think of as "auto cutting clips" — the AI is deciding where to cut.
The selection process analyzes acoustic signals (voice energy, laughter, emphasis patterns), semantic content (when a speaker makes a strong statement, transitions topics, delivers a punchline), and visual signals (composition, speaker visibility). For each candidate segment, the AI scores its potential as a standalone clip and ranks the full candidate set.
The output is a ranked list of clip candidates: start time, end time, and a quality score. Most tools then apply a confidence threshold — candidates below a certain score get dropped, candidates above it enter the approval queue.
For a forty-five-minute video, this step typically produces eight to fifteen clip candidates. For a three-hour stream, twenty to forty. The AI is not cutting every possible thirty-second segment; it is identifying the specific segments that have the highest probability of performing as standalone short-form content.
Step Three: Clip Assembly (Reframe, Captions, Format)
Moment selection identifies the timestamps. Clip assembly produces the actual files.
Reframing converts the source aspect ratio to the target ratio — usually 16:9 source to 9:16 vertical output. For talking-head content, this means tracking the speaker through the frame throughout the clip duration. For gaming content, it means selecting the most relevant screen region. The assembled clip has the correct composition for a phone screen, not just a 9:16 crop of whatever was in the center of the original frame.
Caption generation runs on the clip's audio: speech recognition produces a word-level transcript, and the captions are timed to appear in sync with each word. Font size, positioning, and style should be calibrated for readability on mobile — a caption that reads fine in a 1080p desktop preview may be too small when someone is scrolling on their phone on a subway.
Format packaging outputs the clip in the specifications for each destination platform. TikTok, Reels, and Shorts have different file size limits, codec preferences, and safe zones for captions. A tool that truly auto-assembles for multi-platform handles these differences in the output step rather than giving you one universal file and leaving platform optimization to you.
Step Four: Approval Queue and Posting Schedule
The assembled clips enter an approval queue. Your role in the workflow is this queue — a fast pass through each clip to approve or discard.
Fast is the right word. The target pace is three to ten seconds per clip: long enough to catch problems, short enough that reviewing twenty clips takes two minutes rather than twenty. Watch the first two seconds, glance at the caption text on one or two lines, scan the thumbnail. Approve or skip. Watching each clip all the way through is reviewing, not approving — and it returns you to a time investment close to what manual processing required.
Approved clips enter the posting schedule. You configure this once: how many clips per platform per day, which hours to post, any spacing between consecutive clips from the same source. The schedule distributes clips automatically. From the approval step, you do not touch the clips again until they appear in your platform analytics.
The total time investment for the auto-cut workflow, once fully configured: channel monitoring and ingestion require zero ongoing time. Approval of a typical day's candidates takes two to five minutes. Everything else — processing, assembly, scheduling, posting — happens without you.
Common Mistakes When Setting This Up
Skipping the posting schedule. Approving clips and leaving them in an unscheduled queue means you are back to manually initiating posts. The schedule is what makes the workflow automatic all the way to the platform.
Setting too low a quality threshold. Running every candidate through to your approval queue — not just the high-confidence ones — means your review time scales with video length rather than staying fixed. Tighter quality thresholds mean fewer candidates and faster approval.
Processing sources that don't produce good clip material. If your source channels publish content where most moments require context to land — long-running jokes, deeply structured arguments, technical demonstrations without commentary — the AI will struggle to find standalone moments. The workflow is best suited to content with natural standalone moments.
Not building a clip buffer. Publishing immediately from the day's production means a day when no source channel publishes is a day you post nothing. Building a buffer of thirty to fifty approved clips smooths the production variance and lets you maintain posting cadence through gaps.
Frequently Asked Questions
Initial setup — adding source channels, configuring quality thresholds, and setting the posting schedule — typically takes fifteen to thirty minutes. The workflow is then self-sustaining for connected channels. The main ongoing investment is the daily or weekly approval queue review, which runs two to five minutes for typical daily clip volumes.
Both are possible. Most clipping tools including AutoClip allow you to submit a specific video URL for processing on demand, in addition to monitoring channels for new uploads automatically. This means you can process a backlog of older high-value content alongside automatic processing of new uploads.
Yes, though quality varies by language. AutoClip supports moment detection across many languages and adds caption translation on Pro and Scale plans — meaning clips can be captioned in a language different from the source audio. Accuracy is strongest for widely-spoken languages; less-common languages have lower speech recognition accuracy that affects caption timing.
The auto-cut workflow runs server-side — you are not uploading or downloading large video files from your connection. Source video ingestion runs from the platform (YouTube, Twitch, etc.) directly to the processing infrastructure. The files you interact with directly are the finished clip files, which are much smaller than source video.
Yes. You can configure minimum and maximum clip length, content type preferences, which types of moments to prioritize, and quality threshold for what enters the approval queue. These settings affect what the AI selects without requiring you to review every candidate manually — the customization happens at the pipeline level rather than clip by clip.
Related Articles
See also
Set Up the Full Auto-Cut Workflow in One Session
AutoClip handles source monitoring, AI moment selection, reframing, captions, and posting schedule in one connected pipeline. Add your channels and run your first approval queue today.
Get started for free