Auto Video Maker: How AI Turns Raw Footage Into Ready-to-Post Content
Updated
What an Auto Video Maker Actually Does
The term gets used loosely. Some tools that call themselves auto video makers are basically template packs — you drop in footage and get back a slideshow with transitions and licensed music. That is not what serious content creators mean when they search for one.
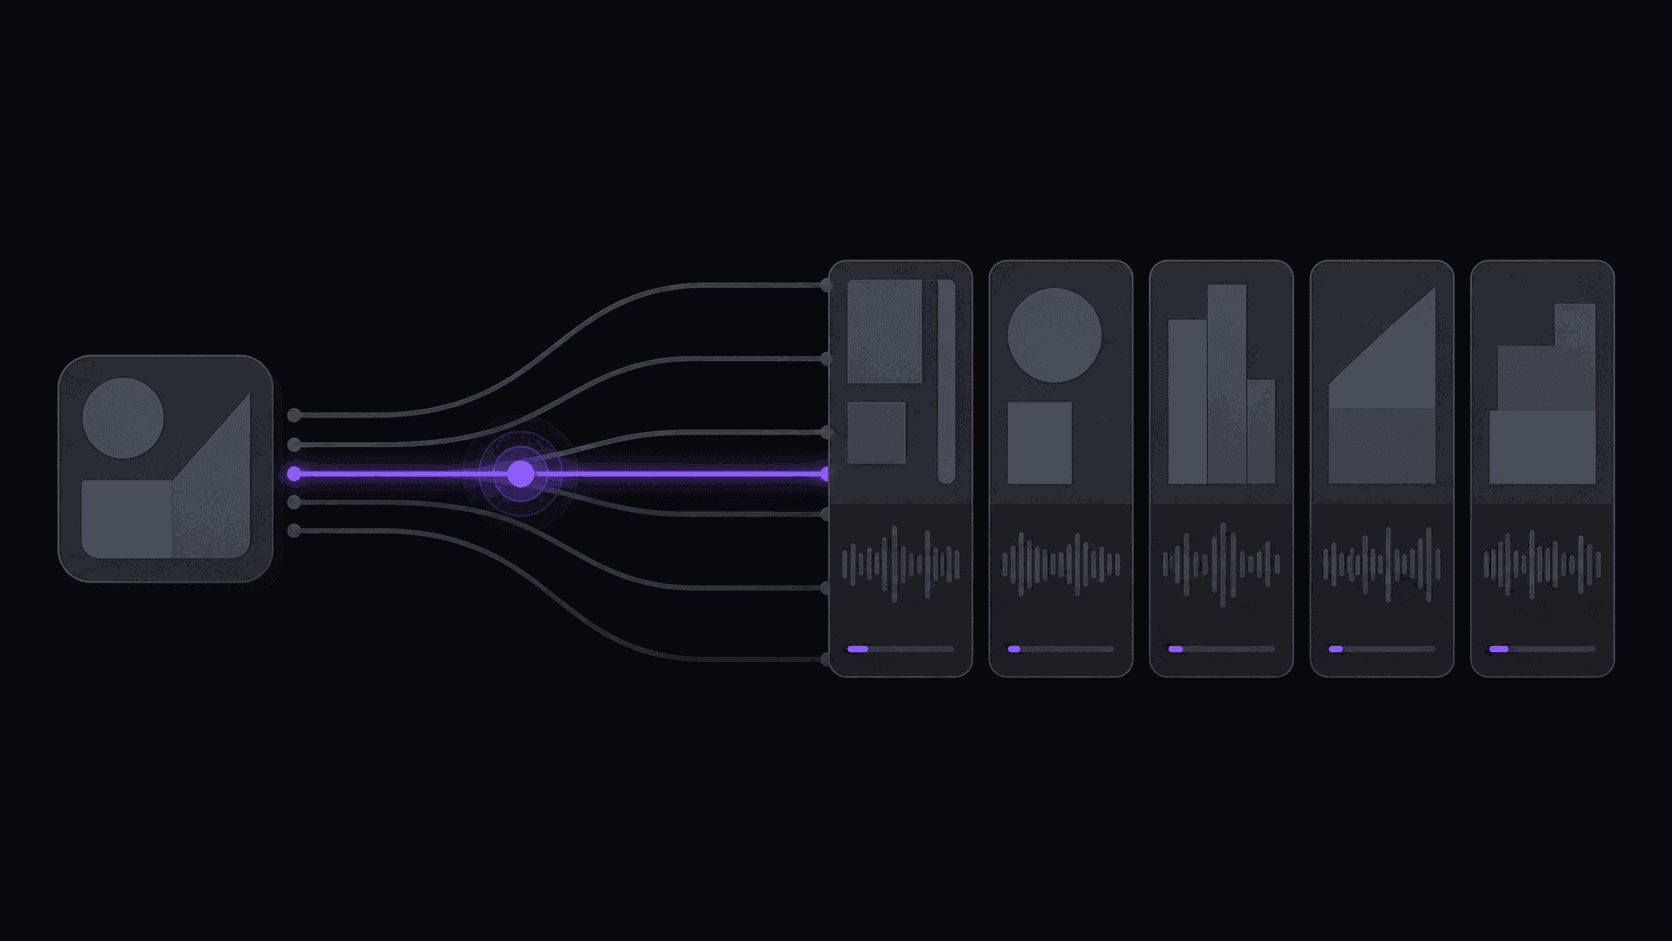
A real auto video maker handles the decisions that would otherwise require your time: it figures out which moments in raw footage are worth keeping, determines the right crop and aspect ratio for each destination platform, adds synchronized captions, and outputs files that are ready to post with no additional processing. The word that matters is auto — not "faster manual" but genuinely hands-off.
The distinction becomes concrete when you are looking at forty minutes of raw interview footage. A template-based tool gives you a prettier timeline. An AI-driven auto video maker gives you six 45-second clips, each reframed to 9:16, each captioned, each ordered by how well the moment tends to perform on short-form platforms. Those are very different things.
The Five Things a Real Auto Maker Has to Handle
Most tools in this category do two or three of the five well and skip the rest. Knowing which five exist lets you spot the shortcuts during a trial:
1. Moment detection. Deciding which thirty or forty-five seconds of a long video are genuinely worth publishing. The weak version of this just cuts at silence or energy peaks. The strong version considers speaker engagement, topic transitions, narrative completeness, and whether the clip makes sense on its own without the surrounding context.
2. Reframing. Converting a 16:9 source into 9:16 (TikTok, Reels, Shorts) without losing the speaker's face or key visual information. Auto-reframe that works well tracks the speaker through the frame; auto-reframe that doesn't work just crops to center and hopes.
3. Caption generation. Word-synced text that appears at the right size for a phone screen held at arm's length, with accurate timing so words don't lag behind what's being said. Bad captioning with a good clip kills the clip.
4. Platform packaging. Understanding that TikTok, Reels, and Shorts have different safe zones, aspect ratios, and optimal caption placements — and outputting files configured for each rather than one universal export.
5. Publishing or queue integration. The step that separates a tool that saves time from one that saves time on the editing step but adds it back on the distribution step. If the auto video maker produces files you have to manually upload to each platform, you have shaved maybe thirty minutes off a two-hour workflow. If it queues and schedules, you have actually changed the workflow.
When a tool skips step 5, the question to ask is whether you can connect it to a scheduling tool that handles that piece. Some pairs work cleanly; others create file format mismatches or require re-exporting.
Where Most Tools Cut Corners
The most common shortcut is moment detection that is really just audio energy detection with a confidence score attached. These tools find loud moments reliably — a big laugh, a sudden beat drop, a moment where someone says something emphatic. They miss quieter but higher-value moments: a well-phrased insight delivered at normal volume, a visual demonstration that works without audio, a subtle reveal that requires the clip to start slightly earlier to land.
The second common shortcut is reframing that moves the crop once per clip and locks it. If your speaker shifts left mid-sentence — reaching for something, turning toward a second camera, standing up — the auto-reframe leaves them partially out of frame. Good reframe tracks continuously through the clip.
Caption accuracy is the third place to watch. Tools trained primarily on English with neutral accents perform notably worse on accented speech, technical vocabulary, and overlapping speakers. Testing with a clip that includes one of those three conditions is a faster quality check than any benchmark the tool publishes about itself.
None of these shortcuts are disqualifying on their own — your source content may not expose them. A podcast with two clear speakers in fixed positions recorded in a treated room will probably look fine with a less sophisticated reframer. A mobile-shot street interview will not.
How to Evaluate One Before You Pay
Three clips is a meaningful test. One should be a talking-head format, one should have multiple speakers or camera angles, and one should have domain-specific vocabulary or an accent that isn't standard American English. Process all three through any trial you run.
For each output clip, check: Does the moment make sense without the surrounding video? Does the caption text match what was said, including technical terms? Is the speaker's face in frame through the entire clip? Does the clip start and end at a natural break rather than mid-sentence?
Also time yourself during the trial. How long does it take from uploading raw footage to having clips that are genuinely ready to post — not clips you could post with some fixes, but clips where you would approve them without touching anything? That number is your real benchmark. A tool that processes in five minutes but requires ten minutes of tweaks per clip is slower than one that takes twenty minutes to process but requires thirty seconds of review.
Connecting an Auto Video Maker to a Posting Schedule
The workflow that most creators end up with: raw footage uploads automatically (via a channel monitoring connection or a direct upload), the auto video maker processes it and populates an approval queue, and everything in that queue gets posted on a schedule with appropriate spacing between clips.
The spacing part matters more than people expect. Platform algorithms react differently to accounts that post multiple clips within minutes of each other versus accounts that space clips across hours. An auto video maker that produces eight clips and gives you one-click posting often means you need to manually stagger them — which is the kind of friction that causes the workflow to break down after a few weeks.
AutoClip handles this by building the posting schedule into the queue. You set the cadence — how many per day, which hours, which platforms — and it distributes automatically. The approval step is the only place you appear in the loop: a few seconds per clip to catch anything the AI shouldn't have included.
If you are using a different auto video maker and connecting a separate scheduling tool, check whether the scheduling tool accepts direct uploads from the maker or requires re-downloading and re-uploading. That single step eliminates more time savings than most people realize when they are evaluating tools separately rather than as an integrated system.
What to Expect in the First Month
The first week is calibration — both for the tool and for you. You will approve clips you should have rejected and reject clips you should have approved, and that is fine. The patterns become obvious faster than most people expect: you will quickly know which types of moments the tool reliably finds and which it consistently misses.
By the second week, you should have a clear answer to whether the moment detection matches your content type. If the tool is finding genuinely good moments in your source videos, the rest of the workflow compounds naturally. If it is finding technically-correct but contextually-wrong moments, that problem does not fix itself with more use.
The output volume in month one often surprises creators who have been doing this manually: it is more than you expect, and the instinct is to post all of it. Do not. Set a ceiling that matches your platform strategy — usually five to eight per account per day — and build a backlog. A backlog from strong weeks covers weak weeks and produces a more consistent posting cadence than trying to match output to whatever the auto video maker produced today.
Frequently Asked Questions
A video editor gives you tools to make decisions manually — trim, cut, color, caption, export. An auto video maker makes those decisions for you using AI: which moments to keep, how to reframe for vertical formats, what captions to generate. The editor is a toolbox; the auto video maker is a pipeline that runs without your active involvement in each step.
Yes, if the tool is built for multi-platform output. A good auto video maker packages each clip for the specifications of each platform — TikTok, Reels, Shorts — including the correct aspect ratio, safe zone positioning for captions, and file format. Some tools export one format and call it multi-platform; real multi-platform support means separate optimized outputs per destination.
The underlying AI model does not learn from your individual approval decisions in real time, but your own ability to predict what the tool will find — and to structure your source content for better output — does improve noticeably in the first four to six weeks. Creators who understand what their auto video maker is good at produce better source content and review queues more efficiently.
This depends on the plan and the tool. AutoClip processes new uploads as they appear on monitored channels, so the throughput scales with how many channels you track and how often they publish. On the Scale plan, ten channels producing multiple uploads per week can generate several hundred clip candidates without hitting any processing ceiling.
Yes, with one caveat: the value depends on how frequently that channel publishes. One long-form video or stream per week creates enough source material to justify the time savings from an auto video maker. One video every two weeks makes the economics tighter — you will want to use the trial period to verify the output quality before committing to a paid plan.
Related Articles
See also
Try the Auto Video Maker Built Around Your Posting Workflow
AutoClip monitors your source channels, finds the best moments, reframes to 9:16, adds captions, and queues clips for posting — no manual processing between raw footage and your feed.
Get started for free